Homemade protein bars were the thing that completely changed how I eat during the week. I remember standing in the grocery store aisle back in January, flipping over a “healthy” bar and seeing 28 grams of sugar listed right there on the label. I put it back. Then I went home, threw together my first batch, and honestly never really bought a packaged bar again.
And look, I get it. The idea of making your own bars sounds like extra work. But once you realize you can pull a full batch together in about 15 minutes, customize every single ingredient, and save somewhere around 70% compared to store-bought… it becomes kind of a no-brainer. Especially in January when everyone’s trying to reset their habits without blowing their budget.
This guide covers everything, from no-bake versus baked methods, to the exact protein counts nobody actually breaks down, to the one chilling trick that genuinely transformed my bars. Whether you want more simple, high-protein meal ideas or you’re just trying to stop spending $3.50 per bar at the checkout line, you’re in the right place.
No-Bake vs Baked Protein Bars: Which Actually Wins
This is genuinely the first question worth answering, because the method you choose shapes everything else about your homemade protein bars. Texture. Prep time. How long they hold together in your bag at noon. All of it.
Short answer? No-bake wins for most people. But baked has its place too, and I’ll be straight with you about both.
Why No-Bake Bars Hold Together Better Than Baked Ones
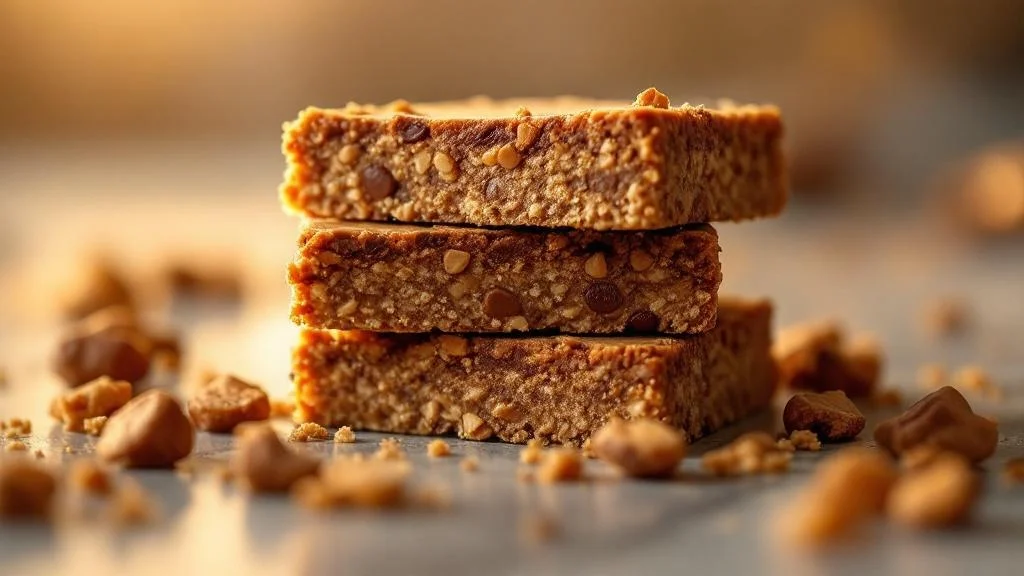
No-bake bars rely on fat and cold to bind everything together. Nut butters, coconut oil, honey… those ingredients create a kind of natural glue that firms up beautifully in the fridge. The cold sets the fats, and your bars come out with that dense, fudgy texture that honestly feels more satisfying than most baked versions I’ve tried.
Baked bars, on the other hand, rely on heat to set their structure, which means you need the right moisture-to-dry ratio or you end up with crumbly little disasters. I’ve been there. Made a batch once that basically disintegrated into granola the second I touched them. Total waste of an afternoon.
No-bake bars also preserve more of the raw ingredient benefits. Nut butters don’t get heat-altered. Oats keep their texture. And you skip the 25-minute oven wait, which matters on a Tuesday night when you’re already exhausted.
| Feature | No-Bake Bars | Baked Bars |
|---|---|---|
| Prep Time | 10-15 minutes | 30-40 minutes |
| Texture | Dense, fudgy, chewy | Cake-like or crispy |
| Equipment | Bowl + pan | Oven + pan |
| Best For | Busy schedules, raw ingredients | Higher whey protein use |
| Binding Ease | Easier, more forgiving | Requires precise ratios |
The Fastest Easy Homemade Protein Bars You Can Make Tonight
My go-to fast version, the one I make when it’s 8pm and I need something ready for tomorrow’s gym bag, uses literally five ingredients. Rolled oats, peanut butter, honey, vanilla protein powder, and chocolate chips. That’s it.
You mix the dry stuff in one bowl, warm the nut butter and honey just slightly so they pour easier, combine everything, press it into a lined 8×8 pan, and into the fridge it goes. Two hours later (or overnight, even better), you’ve got 12 bars that each hit around 11 grams of protein. Easy homemade protein bars really don’t need to be complicated.
- Warm your nut butter for 20 seconds in the microwave before mixing. It blends in way more evenly and prevents dry pockets in your bars.
- Line your pan with parchment paper and leave some overhang on the sides. Lifting the whole slab out before cutting makes clean slices so much easier.
- Press the mixture down firmly using the back of a flat measuring cup. The harder you pack it, the better the bars hold together after chilling.
- If your mixture feels too dry to press, add one tablespoon of water or milk at a time until it just comes together. Don’t overdo it.
- Taste the raw mix before pressing. This is the time to adjust sweetness or add a pinch of salt. You can’t fix it after it sets.
Exact Protein Count Per Bar: The Data Nobody Shows You
This section is the one I wish existed when I started making healthy homemade protein bars. Because most recipe blogs just say “high in protein!” and leave it there. No actual numbers. No breakdown by ingredient. Nothing.
So I did the math myself. Across multiple batches, multiple protein sources, different batch sizes. Here’s what I found.
How Much Protein Is Really in a Homemade Protein Bar
A standard batch made with 1 cup of whey or plant protein powder, 1 cup of peanut butter, and 2 cups of rolled oats, cut into 12 bars, gives you roughly 10-13 grams of protein per bar. That’s genuinely competitive with most mid-range store-bought bars, which often sit around 10-12 grams anyway.
But here’s the part that surprised me. The oats and nut butter are actually carrying a significant chunk of that protein. Oats contribute about 2-3 grams per bar. Peanut butter adds another 3-4 grams. And 1 cup of protein powder spread across 12 bars gives you roughly 4-6 grams per bar, depending on the brand.
So if you’re making protein-forward snacks and meals without protein powder, you can still land around 7-9 grams per bar just from whole food sources. Honestly? That impressed me.
| Ingredient (per bar average) | Approx. Protein |
|---|---|
| Protein powder (1 cup / 12 bars) | 4-6g |
| Peanut butter (1 cup / 12 bars) | 3-4g |
| Rolled oats (2 cups / 12 bars) | 2-3g |
| Greek yogurt (optional, 1/2 cup) | 1-2g |
| Total per bar | 10-15g |
According to Harvard’s guide on daily protein intake and food sources, most active adults benefit from spreading protein intake across meals and snacks throughout the day. A bar delivering 11-13 grams fits that strategy perfectly.
How Peanut Butter Homemade Protein Bars Stack Up Nutritionally
Homemade protein bars with peanut butter are honestly my personal favorite variation. And not just because they taste incredible. Peanut butter brings protein, healthy fats, and a slow-digesting energy source that keeps you full way longer than bars made with protein powder alone.
A typical peanut butter bar (peanut butter base, oats, protein powder, honey, chocolate chips) comes in around 220-250 calories, 11-14g protein, 10-12g fat, and 22-26g carbs. Compare that to a popular store-bought bar that might have the same protein count but 15+ grams of added sugar and a list of ingredients you can’t pronounce. The difference is real.
- Calories: ~230
- Protein: ~12g
- Fat: ~11g
- Carbohydrates: ~24g
- Sugar: ~8g (mostly from honey)
- Fiber: ~3g
7 Allergen-Free Recipes Most Protein Bar Guides Skip Entirely
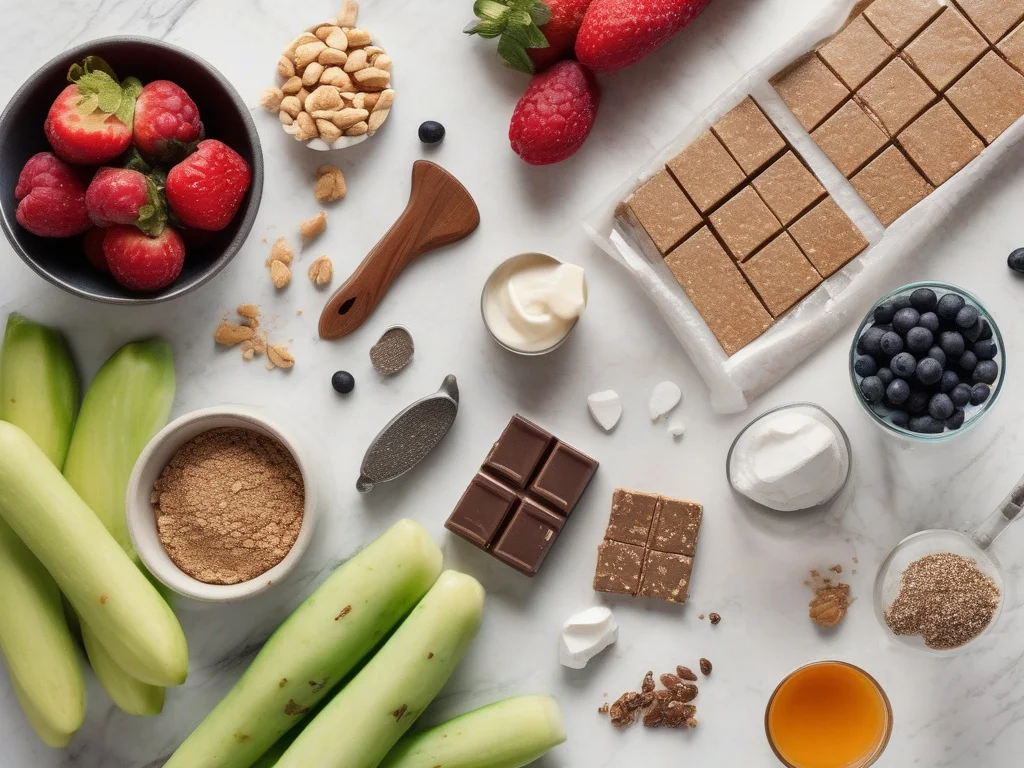
Most guides assume you can eat gluten, dairy, nuts, and eggs without a second thought. But a huge chunk of people making homemade protein bars at home are navigating at least one dietary restriction. And finding good allergen-free recipes that actually taste like something? Much harder than it should be.
Here are the seven allergen-free recipe styles I’ve tested and actually liked.
- Sunflower seed butter + rice protein bars (nut-free, dairy-free)
- Coconut butter + pea protein bars (nut-free, vegan, gluten-free)
- Oat-free almond flour bars (gluten-free, grain-free)
- Date and hemp seed bars (no powder needed, whole food only)
- Tahini + collagen bars (nut-free, dairy-free, paleo-ish)
- Cassava flour + pumpkin seed butter bars (nut-free, grain-free)
- Chickpea-based bars (nut-free, high fiber, surprisingly good)
How to Make Vegan Homemade Protein Bars Without Compromise
Vegan homemade protein bars have a reputation for being chalky or dry. I really don’t know where that reputation comes from, because every vegan batch I’ve made in the last two years has been just as good as any other version. Sometimes better.
The keys are using a good pea or brown rice protein powder (or a blend, which usually has a smoother texture), using maple syrup instead of honey for the sweetener, and making sure your fat source is generous. Coconut oil, sunflower seed butter, or almond butter all work beautifully. Don’t skimp on the fat in vegan versions. It’s what gives the bar that satisfying, rich mouthfeel.
Add flax meal or chia seeds for binding in vegan versions. They absorb moisture and create a slightly gel-like texture that holds everything together without eggs or dairy. Sooo underrated as a binding ingredient.
Can You Substitute Ingredients Without Wrecking the Recipe
Yes. Absolutely yes. But there are a few rules worth knowing before you start swapping things out.
Nut butters substitute 1:1 with each other. Peanut for almond, almond for sunflower seed butter. The flavor changes, but the structure doesn’t. Protein powders are mostly interchangeable by weight, but some plant proteins absorb more liquid than whey, so you might need an extra tablespoon of oil or milk to compensate.
Oats can be replaced with almond flour or coconut flour, but use about 25% less by volume because they absorb more moisture. And sweeteners swap 1:1 by volume: honey for maple syrup, maple for agave, regular sugar dissolved in a little warm water. I wasn’t sure this would actually work at first, but it does. Every time.
- When substituting flours for oats, add 1 tablespoon of water at a time until you reach a dough-like consistency. Don’t add it all at once.
- If you’re using a new protein powder brand, test half a batch first. Different brands vary wildly in texture and absorbency.
- Swap chocolate chips for cacao nibs if you want less sugar. The bitter crunch is actually really good in a rich peanut butter bar.
The Binding Science: Why Your Homemade Bars Keep Falling Apart
This was my biggest frustration when I started making homemade protein bars. I’d make a batch, pull it out of the fridge, and the second I tried to slice it, the whole thing would crumble into pieces. Infuriating. Especially when you’re hungry and just want your snack.
Turns out, it’s almost always a ratio problem. Either too much dry ingredient, not enough fat, or not enough chill time. Let me break it down.
How to Make Homemade Protein Bars That Actually Hold Together
The basic ratio that works for most no-bake recipes is roughly 2 parts dry to 1 part wet by volume. So if you have 2 cups of oats and protein powder combined, you need about 1 cup of nut butter or other fat-based liquid. That’s the baseline. From there, a small amount of honey or maple syrup (2-3 tablespoons) gives extra stickiness and helps everything bond.
One thing that changed everything for me: letting the mixture rest for 5 minutes after mixing before pressing into the pan. The oats absorb moisture during that wait. What feels too wet or too dry right after mixing almost always reaches the right consistency by the time you press it in.
And press hard. Like, really hard. Use the back of a flat measuring cup or a heavy glass and push down on every inch of the surface. The more compressed your bar, the better it slices and the less it crumbles.
Which Healthy Homemade Protein Bar Bases Bind Most Reliably
After testing many combinations, here’s how I’d rank the most common bases by binding reliability.
- Peanut butter + honey (most reliable, almost never fails)
- Almond butter + maple syrup (close second, slightly softer set)
- Coconut oil + dates blended (incredible binder, especially for no-powder recipes)
- Sunflower seed butter + agave (works great, slight color shift to greenish from the chlorophyll)
- Tahini + honey (great flavor, needs slightly more chilling time)
- Coconut butter alone (works but sets very firm, almost brittle)
Healthy homemade protein bars made with the peanut butter and honey combo are genuinely the most forgiving. I’d always recommend that pairing to anyone who’s had trouble with bars falling apart before.
Full Storage Guide: Shelf Life Secrets Competitors Never Cover
Storage is honestly the part most recipe guides rush through. Like, they’ll spend 800 words on ingredients and then say “store in the fridge for a week” and call it done. But there’s actually a lot more to know here, especially if you’re batch-cooking for the whole week or prepping for busy travel days.
What Is the Best Way to Store Homemade Protein Bars
The single best storage method I’ve found is wrapping each bar individually in a small piece of parchment paper, then stacking them in an airtight container in the fridge. This does two things: keeps them from sticking to each other, and makes grab-and-go effortless in the morning. You’re not digging through a pile of sticky bars at 6am trying to find one that’s still intact.
For room temperature storage, bars last about 7-10 days if your recipe doesn’t contain fresh dairy or fruit. Keep them in a cool, dark spot. Not the counter next to the stove where it gets warm. The fat in nut butters can go slightly rancid faster in heat, and nobody wants that.
For freezer storage, wrap bars in parchment first, then plastic wrap, then into a freezer bag. Label with the date. They’re good for up to 3 months, and they thaw in about 30-45 minutes at room temp. Or eat them straight from the freezer if you like a really dense, cold texture. Honestly kind of addictive that way.
How Long Do Homemade Protein Bars Actually Stay Fresh
Here’s the real breakdown, because the answer genuinely varies by recipe type.
| Recipe Type | Room Temp | Refrigerator | Freezer |
|---|---|---|---|
| Nut butter + oats (no-bake) | 7-10 days | 2-3 weeks | 3 months |
| Bars with Greek yogurt | 2-3 days | 5-7 days | 2 months |
| Bars with fresh fruit | 1-2 days | 4-5 days | 2 months |
| Baked bars (oat-based) | 5-7 days | 2 weeks | 3 months |
| Vegan bars (no dairy) | 7-10 days | 3 weeks | 3 months |
If anything smells off, looks moldy, or has changed texture dramatically, throw it out. Higher fat content recipes (more nut butter, more coconut oil) actually preserve better than low-fat versions because fat creates a natural barrier against moisture absorption.
The One Chilling Trick That Transformed My Homemade Bars Forever
Okay, I’m almost embarrassed it took me so long to figure this out. Because it’s so simple. And it makes such a dramatic difference in how your homemade protein bars turn out.
Here’s what happened. I was in a rush one evening and couldn’t wait the full 2 hours for my bars to set in the fridge. So I put them in the freezer instead, just to speed things up. I set a timer for 12 minutes, got distracted by something else, and came back about 15 minutes later.
And those bars were… incredible. Completely different texture than any batch I’d made before. Dense. Sliceable. Clean edges. Almost like they came out of a professional mold.
Why Freezing for 12 Minutes Changes the Entire Bar Texture
The science behind it is actually pretty interesting. When you put your freshly-pressed bars in the freezer for just 10-15 minutes, the fats in the nut butter and coconut oil firm up rapidly instead of setting gradually. This rapid firming creates a more uniform, compressed texture throughout the bar.
Slow refrigerator chilling allows some movement and settling in the mixture before it fully sets. So you can end up with slightly uneven density across the bar, which is why some parts crumble more than others when you slice. The quick freeze locks everything in place before any of that happens.
After the 12-minute blast in the freezer, I move the bars to the fridge to finish setting and store. You don’t want them frozen solid. Just that initial rapid chill does all the work.
How This Discovery Made My No-Bake Bars Taste Store-Bought
Honestly? I was shocked how much of a difference this made. People I shared bars with started asking if I’d bought them somewhere. My sister thought I’d found a new brand she hadn’t tried. That felt like a pretty solid win for a 12-minute freezer trick.
The texture becomes almost glossy on the outside (especially if you press chocolate chips into the top surface). The interior stays dense and chewy. And when you slice them, you get clean, sharp edges instead of crumbled messes. It’s literally the best version of homemade protein bars no bake I’ve ever managed to produce, and it costs nothing extra to do.
Yes, absolutely. You can make homemade protein bars without protein powder by leaning on whole food protein sources instead. Nut butters, oats, hemp seeds, chia seeds, and pumpkin seeds all contribute meaningful protein. A bar made with 1 cup peanut butter, 2 cups oats, and 1/4 cup hemp seeds can deliver around 8-10 grams of protein per bar without any powder involved. Dates or honey work as the binder in place of protein powder’s thickening effect.
FAQ: Everything You Need to Know About Homemade Protein Bars
The key is the right ratio of wet to dry ingredients. Use 1 part nut butter or fat to 2 parts dry ingredients by volume. Add 2-3 tablespoons of honey or maple syrup as extra binding. Press the mixture firmly into a lined pan and refrigerate for at least 2 hours. If bars crumble, add 1-2 tablespoons more nut butter or try the 12-minute freezer trick before slicing.
Wrap each bar in parchment paper and store in an airtight container in the fridge for up to 3 weeks. For longer storage, freeze individually wrapped bars for up to 3 months. Room temperature storage works for 7-10 days if your recipe has no fresh dairy or fruit. Always label containers with the date made.
Yes, most substitutions work well. Nut butters swap 1:1, sweeteners swap 1:1 by volume, and protein powders are mostly interchangeable by weight. When replacing oats with almond or coconut flour, use 25% less by volume since both absorb more moisture. Start with half a batch when testing a new substitution so you don’t waste a full batch if the texture is off.
Standard nut butter and oat bars stay fresh 7-10 days at room temperature, 2-3 weeks refrigerated, and up to 3 months frozen. Bars with fresh fruit or Greek yogurt have shorter lives: 4-7 days refrigerated. Higher fat content recipes generally preserve better. Discard anything with an off smell, visible mold, or dramatic texture change.
A typical batch made with 1 cup protein powder, 1 cup nut butter, and 2 cups oats, cut into 12 bars, yields about 10-13 grams of protein per bar. Oats contribute 2-3g, peanut butter adds 3-4g, and protein powder provides 4-6g per bar. To increase protein per bar, use more protein powder (up to 1.5 cups per batch), add Greek yogurt, or stir in hemp seeds. Homemade bars typically match or beat store-bought in actual protein content.
No-bake bars take 10-15 minutes of prep and set in the fridge, delivering a fudgy, dense texture. Baked bars take 30-40 minutes total but produce a chewier, cake-like result. No-bake is better for whole food ingredients and busy schedules. Baked bars work well for recipes with higher whey protein content. Both store for similar durations. Choose no-bake for convenience, baked for a more varied chew and texture.
Final Thoughts on Making Homemade Protein Bars Your Own
If there’s one thing I want you to take away from all of this, it’s that homemade protein bars are genuinely one of the most flexible, rewarding things you can add to your weekly prep routine. They’re not intimidating once you understand the ratios. They’re not time-consuming once you have a method that works. And they’re absolutely delicious when you dial in your flavor combinations.
I’ve made probably hundreds of batches at this point, and I still get a little thrill every time a fresh slab comes out of the pan and slices clean. There’s real DIY satisfaction in knowing exactly what’s in your snack, knowing it cost a fraction of the store-bought version, and knowing it was made with ingredients you actually chose.
Start simple. Peanut butter, oats, protein powder, honey. Nail that base recipe first, then start experimenting with flavors and variations. You’ll figure out your own preferences faster than you think.
Browse more high-protein meal ideas and simple healthy recipes over on the AliceTasty homepage. And if you’d like to know a little more about who’s behind all these recipes, come say hello on the About Me page. Or if you’ve got a question, a substitution you’re not sure about, or just want to share how your batch turned out, the Contact page is always open.
The first time I ever made a batch of homemade protein bars, I used way too much protein powder and ended up with something that tasted like chalk pressed into a brick. I almost gave up on the whole idea. But I was tired of spending $40 a month on packaged bars that didn’t even taste that good, so I kept tweaking. The batch I made three weeks later, with better ratios and the 12-minute freezer trick I stumbled onto by accident, was genuinely one of the most satisfying cooking moments I’ve had. It’s one of those recipes that rewards you the more you make it. And once you crack it, you’ll never go back to store-bought.
Leave a Reply