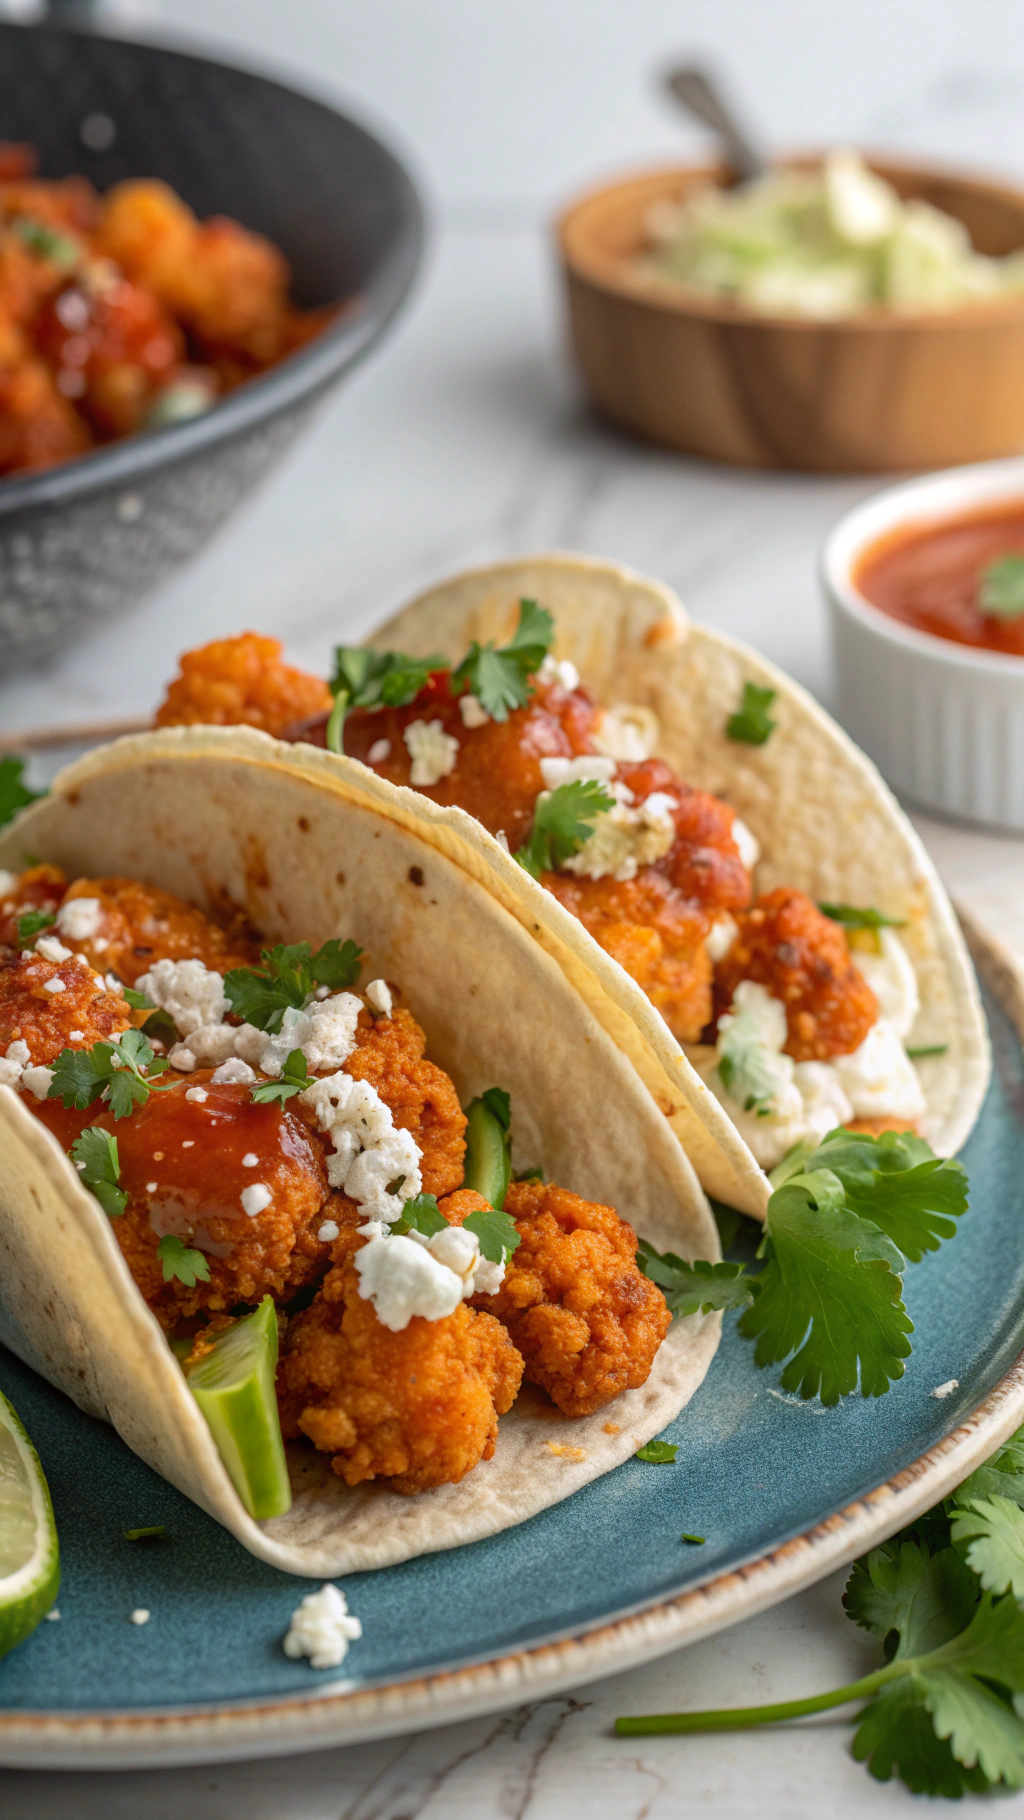
Buffalo Cauliflower Tacos
I used to think cauliflower was the most boring vegetable on the planet. It was the sad, pale filler on a party platter. Then I discovered its magical, shape-shifting superpowers.
You can rice it, mash it, and, most importantly, turn it into the star of Taco Tuesday. Forget everything you know, because these Buffalo Cauliflower Tacos are a game-changer. They are so explosively flavorful, you’ll forget they’re plant-based.
This isn’t just a recipe; it’s a personality upgrade for your weeknight dinner.
What’s the secret? It’s the glorious, messy collision of textures and tastes. You get the spicy, tangy kick of classic buffalo sauce clinging to crispy, roasted cauliflower florets.
Then, it’s all cooled down by a creamy, dreamy sauce and the fresh crunch of veggies, all hugged by a warm tortilla. It’s nostalgic bar food meets healthy-ish genius. Who knew a head of cauliflower could bring this much drama and delight to your table?
Honestly, it’s underrated.
Ingredients
Gathering these ingredients is half the fun. This isn’t a complicated list, but a few key players make all the difference. Here’s what you’ll need to create this masterpiece of Buffalo Cauliflower Tacos.
- 1 large head of cauliflower, cut into bite-sized florets
- 1/2 cup all-purpose flour (or gluten-free 1-to-1 blend)
- 1/2 cup water or plant-based milk
- 1 tsp garlic powder
- 1 tsp smoked paprika
- 1/2 cup of your favorite buffalo hot sauce (Frank’s RedHot is the classic move)
- 2 tbsp melted butter or vegan butter
- 8 small corn or flour tortillas
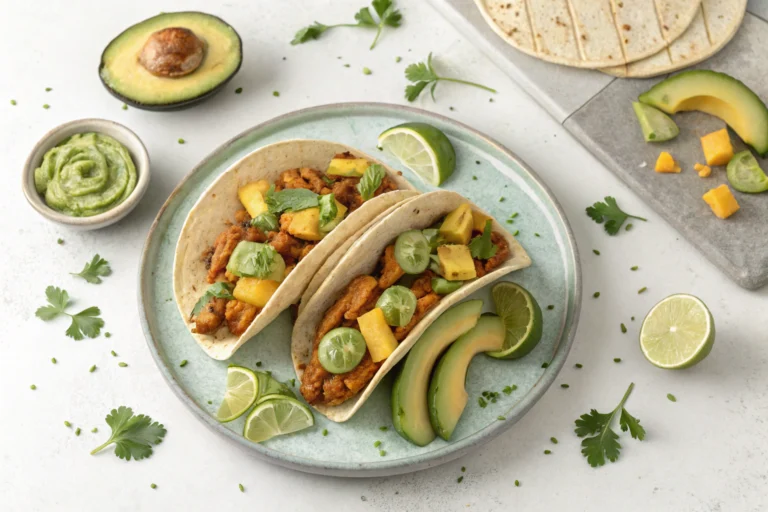
- For serving: shredded cabbage, diced avocado, cilantro, lime wedges
- For the creamy sauce: 1/2 cup Greek yogurt or vegan ranch, mixed with a squeeze of lime
Step-by-Step Instructions
- Preheat your oven to 450°F (230°C).A hot oven is non-negotiable for maximum crispiness on your Buffalo Cauliflower Tacos.
- Make the batter. In a large bowl, whisk together the flour, water, garlic powder, and paprika until smooth. It should be like a thin pancake batter.
- Toss the cauliflower.Add the florets to the batter and mix until every nook and cranny is coated. This is the glue for our spicy sauce later.
- Bake to perfection. Spread the cauliflower on a parchment-lined baking sheet and bake for 20 minutes, flipping halfway through.We want golden edges!
- Coat in sauce. Whisk the buffalo sauce and melted butter together. Drench the baked cauliflower in the mixture and toss to coat thoroughly.
- Crisp it up.Return the sauced cauliflower to the oven for another 10 minutes. This caramelizes the sauce onto the florets.
- Warm your tortillas. Char them slightly over a gas flame or warm in a dry skillet.It makes a world of difference.
- Assemble your tacos. Load each tortilla with buffalo cauliflower, drizzle with the creamy sauce, and pile high with cabbage and avocado. Devour immediately.
Storage Instructions
If you have leftovers (a miracle), let the buffalo cauliflower cool completely.
Store it in an airtight container in the fridge for up to 4 days. Reheat in the air fryer or oven to bring back the crunch. For freezer prep, freeze the baked-and-sauced cauliflower on a sheet pan before transferring to a bag.
It keeps for 2 months and can go straight from freezer to oven. IMO, this is a fantastic meal prep superstar for easy lunches.
Why You’ll Love This Buffalo Cauliflower Tacos
- A Total Crowd-Pleaser: This dish wins over meat-eaters and vegetarians alike. It’s the perfect party food or family dinner.
- Surprisingly Healthy: You’re eating a whole vegetable smothered in flavor, not fried.It’s a feel-good meal that doesn’t skimp on taste.
- Ready in Under an Hour: From chop to chomp, it’s a quick process. Way faster than waiting for delivery and infinitely more satisfying.
Common Mistakes to Avoid
- Overcrowding the baking sheet. Your cauliflower will steam, not crisp.Give them space to breathe, people.
- Skipping the second bake. This step is crucial for sticky, caramelized sauce, not a soggy mess. Don’t be lazy.
- Using a thick, gloppy batter.A thin batter ensures a light, crispy coating, not a doughy shell. Trust the process.
Alternatives and Variations
This recipe is incredibly flexible! For a gluten-free version, use a GF flour blend and corn tortillas.
It’s naturally vegan if you use plant-based butter and milk. Not a fan of super spicy? Cut the buffalo sauce with a little BBQ sauce for a sweeter kick.
You can also swap the creamy drizzle for a simple avocado crema or even blue cheese dressing if that’s your vibe.
FAQs
Can I freeze these Buffalo Cauliflower Tacos?
You can freeze the buffalo cauliflower component before assembling. Reheat from frozen in a 400°F oven until hot and crispy. I don’t recommend freezing fully assembled tacos, as the veggies will get soggy.
What’s the best substitute for all-purpose flour?
A gluten-free 1-to-1 baking blend works perfectly.
You can also use rice flour or chickpea flour for a different flavor profile and protein boost.
How long do the leftovers stay fresh?
The leftover buffalo cauliflower will stay good in an airtight container in the refrigerator for 3 to 4 days. The crunch is best right after baking, but it’s still delicious reheated.
Is this recipe kid-friendly?
It can be! The spice level is adjustable.
Serve the buffalo sauce on the side for dipping, or use a milder sauce like BBQ to coat the cauliflower for little palates.
Can I prep the buffalo cauliflower ahead of time?
Absolutely. You can cut the cauliflower and make the batter up to a day in advance. Store them separately in the fridge.
When ready, just toss and bake. FYI, it’s a huge time-saver.
Final Thoughts
This recipe truly changed my relationship with a humble vegetable. It’s proof that healthy food can be fun, flavorful, and deeply satisfying.
These Buffalo Cauliflower Tacos are a weekly staple in my house for a reason. Give them a try this Tuesday and totally transform your routine. Let me know in the comments what you think—I live for your creations!
Want a printable PDF version?